As-built documentation exists for one reason: to create a reliable record of what was actually constructed. When that record is incomplete, inaccurate, or poorly maintained, the consequences ripple through every future project, maintenance decision, and ownership transition the building will ever experience.
The frustrating reality is that most as-built documentation failures are entirely preventable. The same mistakes occur project after project, costing the construction industry billions of dollars annually in rework, delays, and disputes. An FMI/Autodesk study estimated that 48 percent of all construction rework stems from poor project data — and a significant share of that traces directly to as-built documentation that was done wrong.
Here are the five most common mistakes and how to avoid them.
Mistake 1: Incomplete Field Change Updates
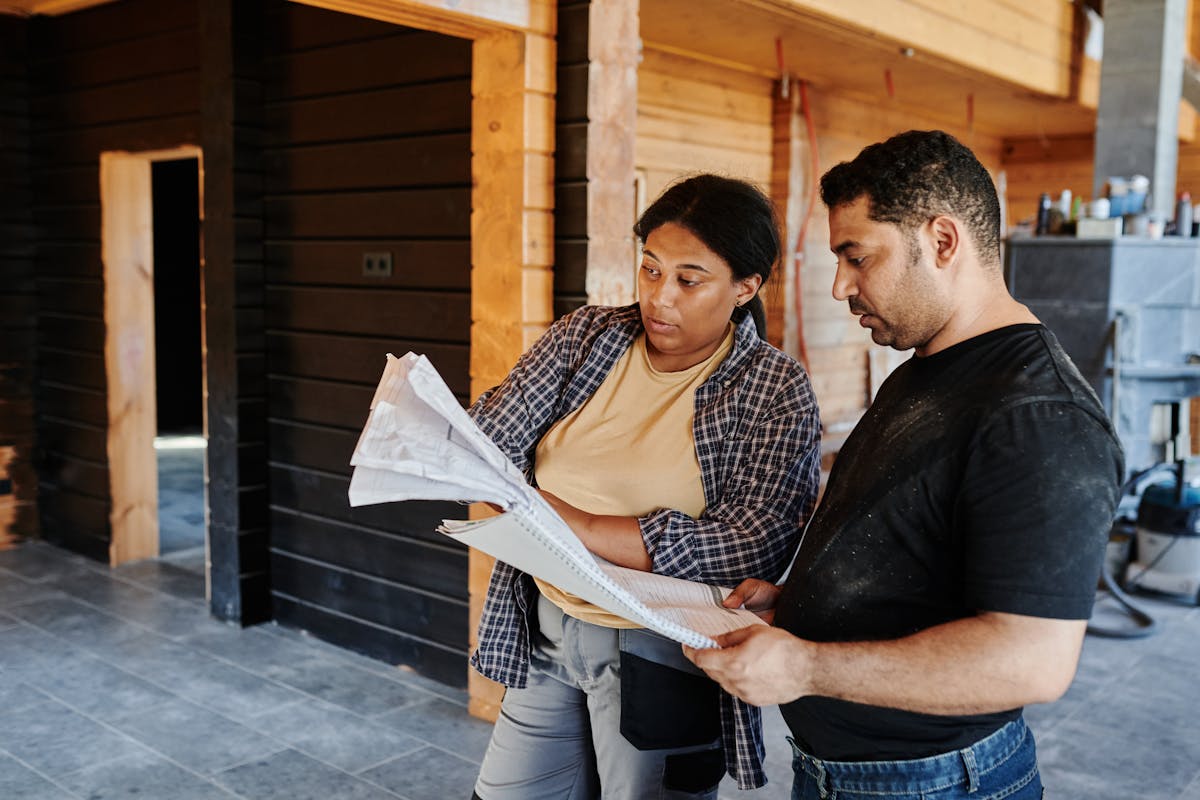
The problem: During construction, field conditions force changes to the original design. A duct route is modified to avoid an unforeseen structural member. An electrical panel is relocated because the specified wall turns out to be a fire-rated assembly. Plumbing is rerouted around foundation conditions that differ from the geotechnical report.
These changes happen on every construction project. The mistake is not documenting them — or documenting only some of them. Industry estimates suggest that 40 percent of construction disputes involve disagreements about what was actually built versus what was designed. The root cause is almost always inadequate field change documentation.
Why it happens: Field changes occur under time pressure. The superintendent makes a decision, the crew executes it, and everyone moves on to the next problem. Updating the drawings feels like paperwork that can wait. By the time someone gets around to it — if they ever do — the details have faded from memory. The specific routing, the exact dimensions, the reason for the change: all lost.
How to prevent it: Implement a real-time change documentation protocol. Every field change should be captured the same day it occurs, with enough detail to reconstruct the decision later. For critical changes — structural modifications, MEP rerouting, fire-rated assembly alterations — photographic documentation should accompany the written record.
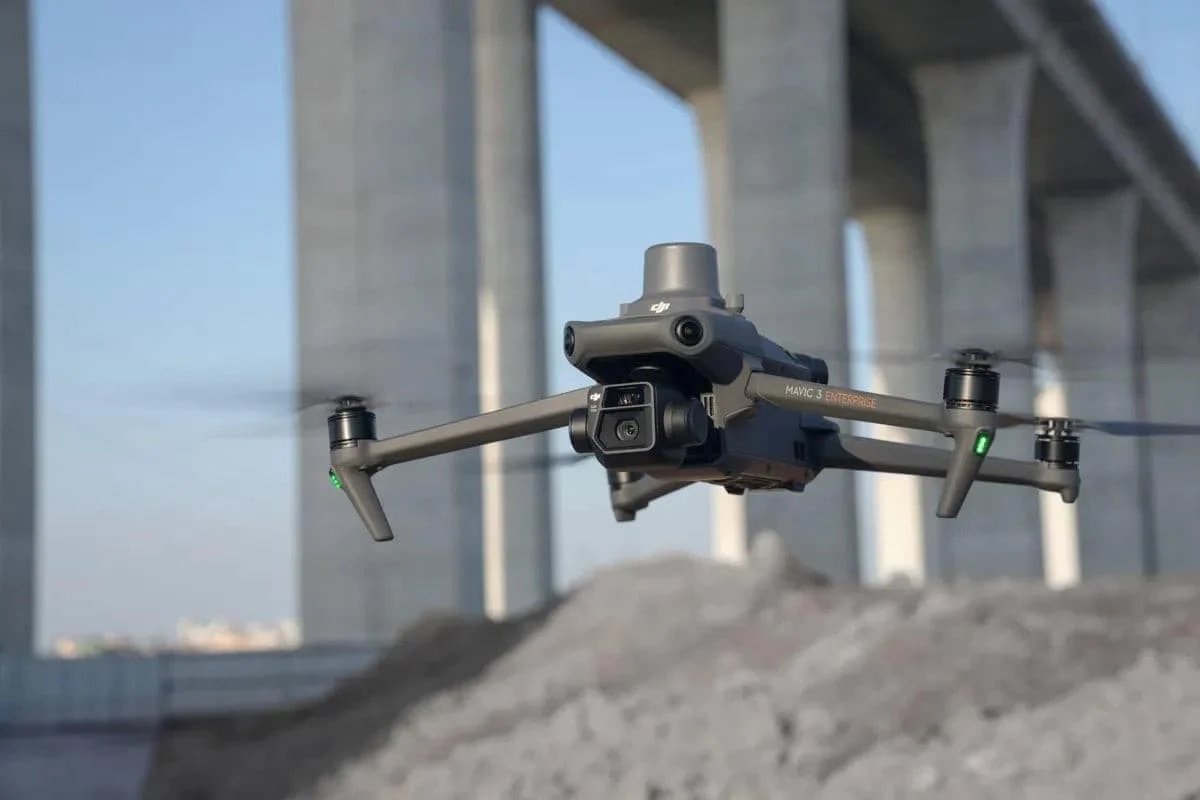
Better yet, schedule progressive 3D laser scanning at key construction milestones. Scanning before walls close captures the actual installed conditions with millimeter accuracy, creating an indisputable record that does not depend on anyone’s memory or diligence in filling out change forms.
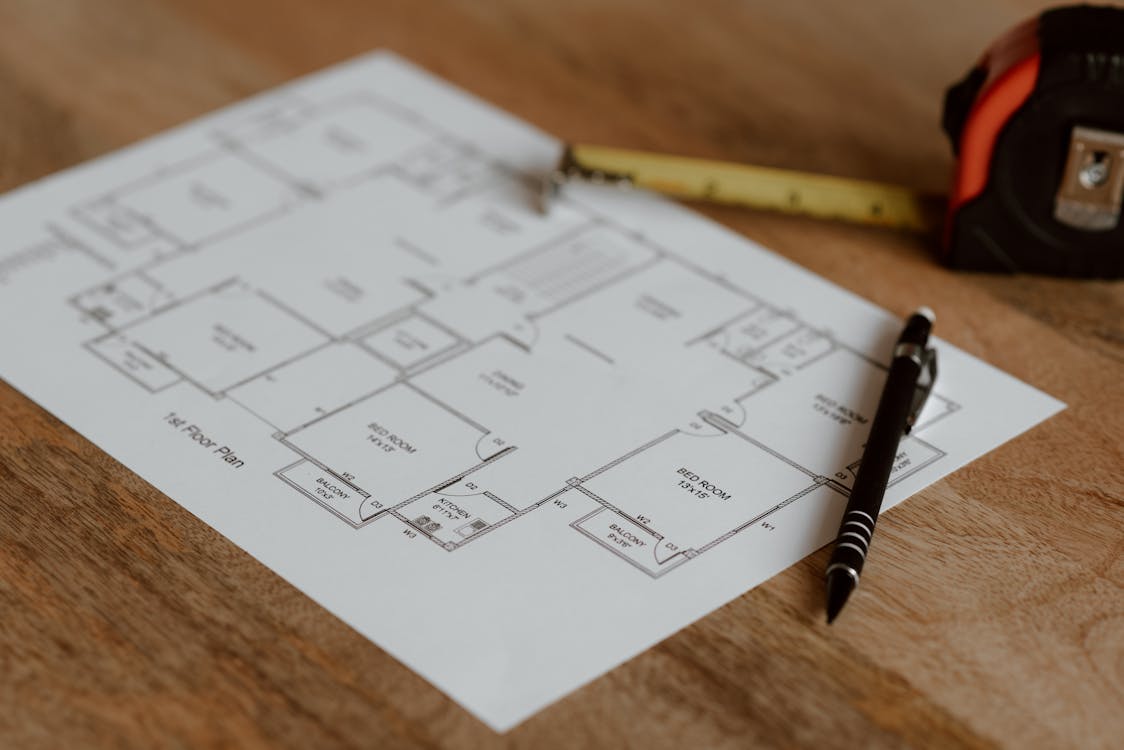
Mistake 2: Inaccurate Measurements

The problem: Manual measurement — using tape measures, laser distance meters, and field sketches — introduces errors at every step. Individual measurements may be off by a quarter inch to half an inch. But the real danger is cumulative error: when measurements chain together across a large building, small errors compound into significant discrepancies.
A quarter-inch error in one room dimension seems trivial. But when that error propagates across 20 rooms on a floor plan, the cumulative effect can be several inches — enough to create genuine problems when a renovation design is based on those measurements.
MEP systems are particularly vulnerable. Measuring pipe diameters, duct sizes, and conduit routing above a ceiling with manual instruments is inherently imprecise. Reaching overhead with a tape measure while standing on a ladder, trying to read dimensions in a dark plenum, produces documentation that ranges from approximate to wrong.
Why it happens: Manual measurement has been the industry standard for decades, and many professionals have grown accustomed to its limitations. The attitude is often “close enough” — which works until a renovation design depends on knowing whether a 6-inch gap exists between a duct and a beam, and the as-built drawing shows 8 inches because the field measurement was approximate.
How to prevent it: Use measurement technology that eliminates cumulative error. 3D laser scanning captures every visible surface at 1 to 4 millimeter accuracy with no cumulative error — each point is independently measured from the scanner’s position. A dimension taken from the point cloud at one end of the building is exactly as accurate as a dimension taken at the other end.
For existing buildings where as-built documentation is being created for renovation or facility management, scanning is not just more accurate than manual measurement — it is also faster. A floor that takes a week to measure manually can be scanned in one to two days.
Mistake 3: No Revision Tracking or Audit Trails
![]()
The problem: As-built documentation is a living record. Over a building’s lifecycle, the documentation should be updated after every significant modification — tenant improvements, system replacements, structural alterations, code upgrades. But without revision tracking, nobody knows which version of the documentation is current, what was changed, when it was changed, or why.
Research suggests that 25 percent of interpretation errors in construction documentation stem from version confusion — teams working from outdated revisions or from documents that have been modified without clear tracking of what changed.
Why it happens: Revision tracking requires discipline and systems. Many building owners store as-built drawings as static files — a set of PDFs or DWG files in a folder — without any formal revision management process. When a renovation occurs, the contractor may update the drawings, but the updated version gets saved alongside the old version without clear labeling. Five years later, nobody knows which file is current.
How to prevent it: Establish a document management protocol for as-built records from day one. Every revision should include:
- A revision date and number
- A description of what changed and why
- The name of the firm or individual who made the update
- A clear supersession notice on the previous version
For buildings managed with facility management software (CAFM or IWMS), as-built documentation should be integrated into the system’s document management module with formal check-in/check-out procedures and version history.
When commissioning updated as-built documentation after a renovation, ensure the deliverables include clear revision tracking that can be maintained going forward.
Mistake 4: Omitting Hidden and Underground Elements
The problem: The most dangerous gaps in as-built documentation are the elements you cannot see — underground utilities, concealed structural connections, in-wall plumbing and electrical, fire-rated assemblies hidden above ceilings, and waterproofing systems buried behind finishes.
These hidden elements are precisely the ones that cause the most expensive problems during renovation. Cutting into a slab without knowing the location of post-tensioning tendons. Excavating near a building without knowing the depth and location of underground utilities. Opening a wall without knowing that a pressurized fire suppression line runs through it. Litigation resulting from damage to undocumented hidden elements is among the most common construction disputes.
Why it happens: Hidden elements are difficult and expensive to document. You cannot scan what you cannot see. You cannot measure what is buried in concrete or soil. Traditional as-built documentation often skips these elements entirely because the effort required to document them seems disproportionate to the value — until the day someone needs that information and it does not exist.
How to prevent it: Document hidden elements at the only time they are visible — during construction, before they are covered. This requires a progressive documentation approach:
- Before slab pour: Document post-tensioning layout, underground plumbing, and embedded electrical conduit
- Before wall closure: Scan and photograph in-wall MEP routing, structural connections, and fire-stopping
- Before ceiling installation: Scan above-ceiling MEP systems, structural framing, and fire-rated assemblies
For existing buildings where hidden elements were never documented, ground-penetrating radar (GPR) can locate some subsurface elements, and selective exploratory demolition combined with scanning can capture concealed conditions in targeted areas.
The cost of progressive scanning during construction is a fraction of the cost of exploratory demolition and emergency rerouting during a future renovation. Read more about the cost implications of skipping documentation.
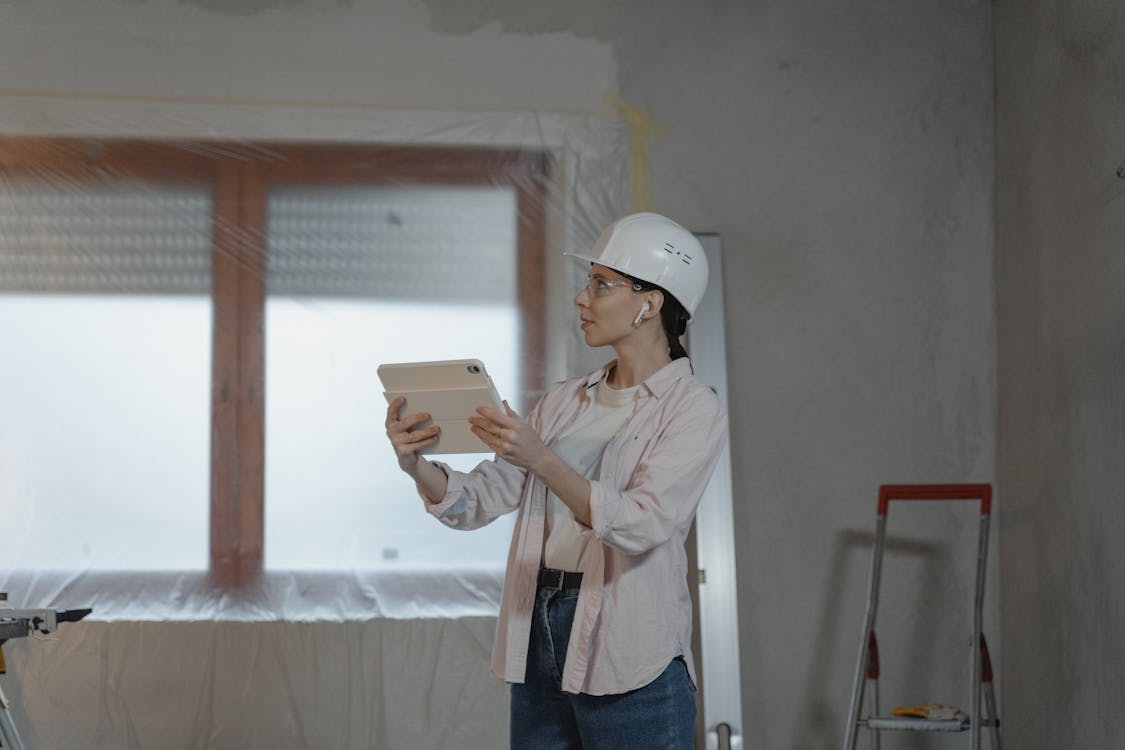
Mistake 5: Delayed Documentation
The problem: The most pervasive mistake in as-built documentation is waiting until the project is over to create it. Construction teams focus on building. Documentation is treated as a closeout task — something to handle in the last few weeks before the certificate of occupancy.
By that point, walls are closed, ceilings are installed, and much of the building’s critical infrastructure is no longer visible. The team that installed the systems has moved on to other projects. The superintendent who made the field decisions is working at a different job site. The documentation effort becomes an exercise in reconstruction from memory rather than a capture of actual conditions.
Why it happens: Documentation does not produce revenue. It does not advance the construction schedule. It is overhead — and construction teams under schedule pressure systematically deprioritize overhead activities. The result is that documentation is compressed into the final weeks of a project, when the team is also managing punch lists, commissioning, and closeout coordination.
How to prevent it: Build documentation into the construction schedule as a milestone activity, not a closeout task.
- Foundation and underground: Scan before backfill
- Structural frame: Scan before enclosure
- MEP rough-in: Scan before wall and ceiling closure (this is the single most valuable scanning milestone)
- Architectural finishes: Scan at substantial completion
Progressive scanning at these four milestones captures every phase of construction when the installed elements are visible and accessible. The total scanning effort is comparable to doing it all at the end — but the result is dramatically more complete and accurate because hidden elements are documented before they become hidden.
Our team at THE FUTURE 3D can work with your construction schedule to plan scanning milestones that capture the maximum information with minimum disruption to the construction workflow. Learn more about our as-built documentation process or request a quote for your project.
The Common Thread: Technology Solves Process Problems
Each of these five mistakes is, at its core, a process failure — but technology provides the most reliable solution. 3D laser scanning addresses all five mistakes simultaneously:
- Incomplete field changes are captured automatically because the scanner documents everything visible, not just what someone remembers to measure
- Inaccurate measurements are eliminated by millimeter-precise laser measurement with no cumulative error
- Version tracking is simplified because each scan creates a timestamped, immutable record of conditions at that moment
- Hidden elements are captured during progressive scanning milestones before they are concealed
- Delayed documentation becomes unnecessary when scanning is built into the construction schedule as a milestone activity
The result is as-built documentation that is complete, accurate, traceable, and timely — the four qualities that separate documentation that prevents problems from documentation that creates them.
Frequently Asked Questions
Q: What is the single most important as-built documentation milestone during construction?
The MEP rough-in scan — performed after mechanical, electrical, and plumbing systems are installed but before walls and ceilings close — captures the most high-value information. MEP systems represent the most complex, most frequently modified, and most expensive-to-reconstruct building elements. Once they are concealed, the only way to document them is through destructive investigation.
Q: How do I know if my existing as-built documentation is reliable?
Compare the documentation to actual field conditions. Select 10 to 15 representative locations in the building and verify dimensions, equipment locations, and system routing against the drawings. If more than 20 percent of the checked conditions show significant discrepancies, the documentation should be considered unreliable for renovation design purposes.
Q: Can these mistakes be corrected after the fact?
Yes, but at significantly higher cost. 3D laser scanning can document current visible conditions at any time. Hidden elements can be partially documented through ground-penetrating radar and selective investigation. However, correcting these mistakes after the fact typically costs 3 to 5 times more than getting it right during construction, because of the added effort to access concealed conditions.
Q: Who is responsible for as-built documentation quality — the contractor or the owner?
Contractually, the general contractor typically bears responsibility for producing as-built documentation as part of project closeout. However, the building owner has the greatest long-term interest in documentation quality, since the owner will use (or suffer from the lack of) that documentation for decades. Forward-thinking owners specify documentation requirements in the construction contract, including progressive scanning milestones and quality standards.
Q: What does a quality as-built documentation checklist look like?
A comprehensive as-built documentation checklist should verify: all architectural elements dimensioned, all structural elements located, all MEP systems documented with sizes and routing, all field changes recorded with dates and reasons, all deviations from permit drawings documented, all hidden elements captured before concealment, revision tracking established, and deliverables produced in industry-standard formats. Our as-built documentation service includes quality assurance verification against a detailed checklist.
Avoid these costly mistakes on your next project. Get a quote from THE FUTURE 3D for professional as-built documentation powered by 3D laser scanning — or explore our complete as-built documentation services.
Ready to Start Your Project?
Get a free quote and consultation from our 3D scanning experts.
Get Your Free Quote