If you have never commissioned a 3D laser scanning project before, the process can feel like a black box. You know the end result is a detailed point cloud of your building, but what actually happens between the moment the scanning crew arrives and the moment you receive your data?
This guide walks through a real scanning day from start to finish — what the crew brings, what they do at each step, how long it takes, and what you need to prepare on your end. We will use a typical example: a 50,000 square foot, three-story commercial office building being documented for a renovation project.
Before the Scan: Pre-Visit Planning (1-2 Weeks Before)
The scanning session does not start on the day the crew arrives. It starts with planning that happens well in advance.
Site Assessment
For projects where the scanning provider has not previously worked in the building, a pre-visit site assessment is standard. This can be an in-person walkthrough or, for straightforward buildings, a virtual assessment using floor plans and photographs provided by the client.
During the assessment, the scanning team evaluates:
- Building layout — Number of floors, room sizes, corridor lengths, stairwell locations, and elevator access
- Access logistics — Entry procedures, security requirements, occupied areas that need scheduling coordination, locked rooms or restricted zones
- Scanning challenges — Large glass areas, highly reflective surfaces, active construction areas, or spaces with heavy foot traffic
- Scan position count estimate — Based on the layout, the team estimates how many individual scan positions will be needed. For a 50,000 square foot building with standard office layout, expect 100-200 scan positions depending on room sizes and complexity
- Equipment selection — Based on the building characteristics, the team determines which scanner(s) to deploy and whether additional equipment (targets, mobile mapper, drone) is needed
Client Preparation Checklist
Before the scanning crew arrives, the client typically needs to:
- Provide access to all areas that need to be scanned, including locked rooms, mechanical spaces, and roof access if applicable
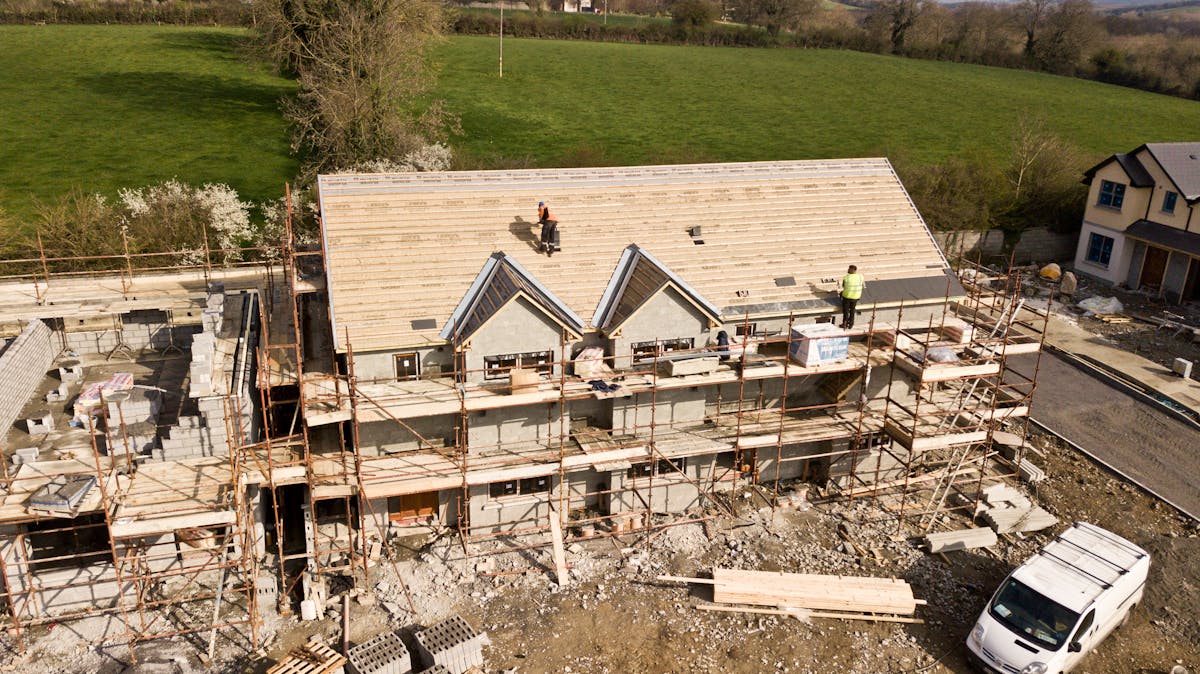
- Clear scheduling with building occupants if the building is occupied. Scanning is non-disruptive (no noise, no disruption to HVAC or electrical), but the crew does need to access every room
- Move large obstructions if specific surfaces behind them need to be captured. The scanner sees line-of-sight only — anything blocked by furniture, equipment, or temporary storage will not appear in the scan
- Provide floor plans if available, even outdated ones. These help the scanning team plan efficient scan position routes and verify completeness
Day of Scanning: Morning Setup (7:00 AM - 8:00 AM)
Equipment Arrival and Staging
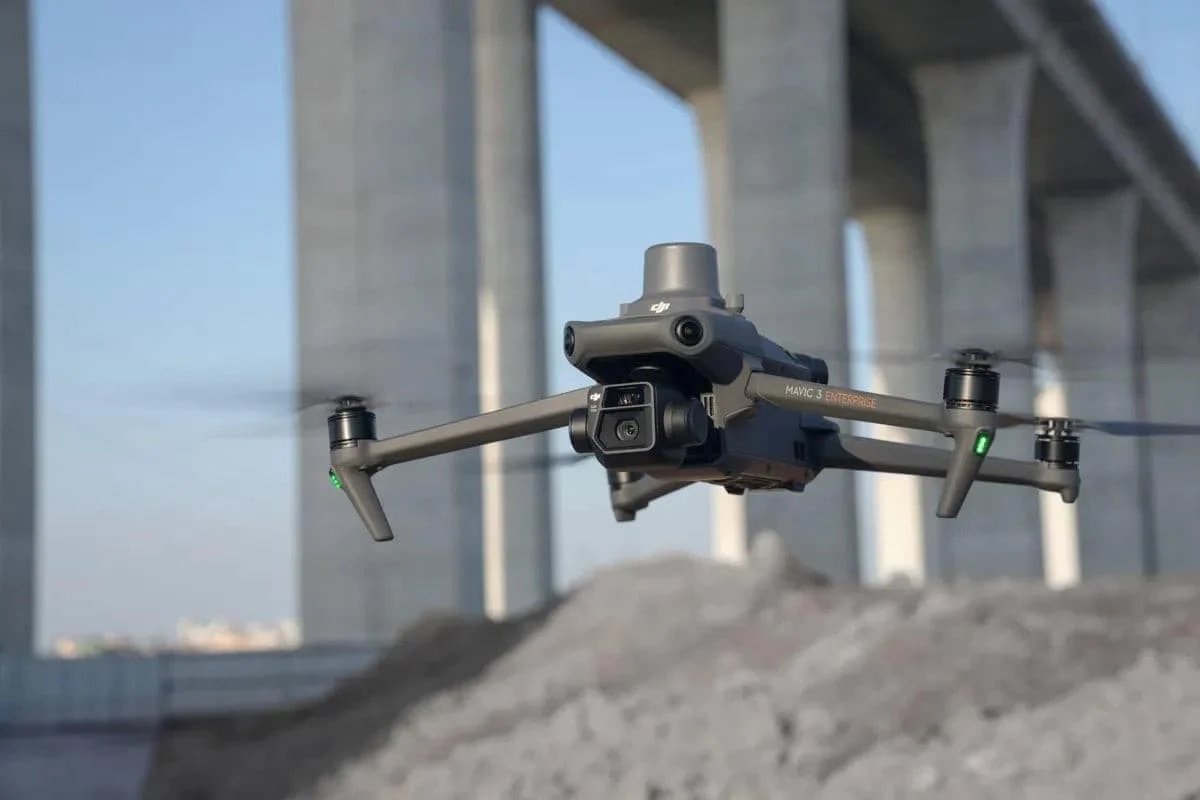
The scanning crew arrives with their equipment cases — typically 3-5 heavy-duty cases depending on the project scope. For a 50,000 square foot building, the standard equipment load includes:

- Primary scanner — A terrestrial laser scanner such as the Leica RTC360 or FARO Focus Premium. Weighs approximately 5-6 kg plus tripod
- Backup scanner — For multi-day projects, a backup unit prevents schedule delays if the primary develops an issue
- Tripod — Heavy-duty carbon fiber tripod designed for vibration isolation and fast setup
- Registration targets — Checkerboard or sphere targets (typically 15-30 for a building this size) used to align individual scans into a unified point cloud
- Tablets/laptops — For field registration, QA checks, and scan management
- Batteries and chargers — Professional scanners run on rechargeable batteries. A full day of scanning may require 4-6 fully charged batteries
- Safety equipment — Hard hats, safety vests, safety glasses, and any site-specific PPE required by the building or client
The crew stages their equipment in a central location (often a conference room or lobby) and begins by placing registration targets throughout the first floor.
Target Placement
Before scanning begins, the crew places registration targets at strategic locations throughout the building. These targets serve as known reference points that allow individual scan positions to be precisely aligned later during registration.
Target placement follows specific rules:
- Targets must be visible from multiple scan positions to create geometric connections between scans
- Targets should be at varying heights — some at floor level, some at desk height, some at ceiling level — to prevent “flat” registration geometry
- Each scan position should see at least 3 targets, with 4-5 being optimal
- Targets near critical areas (mechanical rooms, structural connections, renovation zones) get extra attention
For a 50,000 square foot building, target placement takes approximately 30-45 minutes for the first floor, with additional time for upper floors as the crew establishes vertical connections through stairwells.
Active Scanning: Room by Room (8:00 AM - 4:00 PM)
How a Single Scan Works
The scanner operates on a tripod, positioned at a specific location in the space. When the operator initiates a scan:
- The scanner head rotates 360 degrees while the laser fires millions of pulses per second at surrounding surfaces
- Each pulse bounces off a surface and returns to the scanner, which records the precise distance and angle
- The integrated camera captures a full 360-degree HDR photograph, which provides color information for each point
- The scan completes in 1-3 minutes depending on the resolution setting (faster for standard resolution, slower for high-resolution critical areas)
- The operator reviews the scan on a tablet to verify complete coverage, then moves the scanner to the next position
The Scanning Route
The scanning crew works through the building systematically, typically completing one floor at a time. The route is planned to minimize backtracking while ensuring complete coverage.
For a typical office floor with a mix of open areas and private offices:
- Large open areas (conference rooms, open plan offices, lobbies) — One scan position per 1,500-3,000 square feet, placed centrally
- Corridors — Scan positions every 30-50 feet, placed along the centerline
- Individual offices — One scan position per room, placed in the doorway or center
- Mechanical/electrical rooms — Multiple positions per room due to equipment blocking sightlines, often every 5-10 feet in dense areas
- Stairwells — At least one position per landing to establish vertical registration connections between floors
- Restrooms and utility spaces — One position each, scanned quickly at standard resolution

Pace and Timing
An experienced scanning crew with a modern scanner maintains a pace of approximately 8-15 scan positions per hour, including setup, scanning, target checking, and movement between positions. This accounts for the time to carry the scanner, set up the tripod, level the instrument, scan, and move on.
For our 50,000 square foot example building with approximately 150 scan positions:
| Floor | Scan Positions | Estimated Time |
|---|---|---|
| Floor 1 (lobby + offices) | ~55 | 4-5 hours |
| Floor 2 (offices) | ~50 | 3.5-4.5 hours |
| Floor 3 (offices + mech) | ~45 | 3-4 hours |
| Total | ~150 | 10.5-13.5 hours |
This means a 50,000 square foot building is typically a 1.5-2 day scanning effort. A single floor can often be completed in one day.
Crew Coordination
The scanning team typically consists of 2 people for a project this size:
- Lead scanner operator — Runs the scanner, manages scan quality, makes decisions about scan positions and resolution settings
- Target/logistics technician — Places and moves targets ahead of the scanner, opens doors, coordinates with building occupants, manages equipment and batteries
On larger projects (over 100,000 square feet), a third crew member may be added to parallelize target placement and scanning, or a second scanner may be deployed to scan independent areas simultaneously.
Working in Occupied Buildings
3D scanning is one of the least disruptive forms of building documentation. The scanner operates silently (no audible noise beyond a faint motor hum), uses no hazardous materials, does not affect building systems, and requires no power connections. The only impact on occupants is the brief presence of the crew and their tripod-mounted equipment.
When scanning occupied spaces, the crew:
- Coordinates room access with occupants in advance
- Completes each room’s scans in 5-10 minutes, then moves on
- Works around occupied workstations without requiring people to leave
- Pauses scanning if a room is in active use for a meeting or phone call
People do appear in the scan data, but they are easily filtered out during processing since they are present in only one scan position while the surrounding geometry is captured from multiple angles.
Field Quality Assurance (Throughout the Day)
Quality assurance is not a separate phase — it happens continuously throughout scanning.
Real-Time Registration Checks
Modern scanning workflows allow the operator to register scans in the field as they go, rather than waiting until post-processing. As each new scan is captured, it is aligned against the existing scans on the operator’s tablet. This provides immediate feedback on:
- Registration quality — Are the scans aligning within specification? If a scan shows high alignment error, it can be re-scanned immediately
- Coverage completeness — Are there gaps between scans where surfaces are not captured? The operator can add supplemental scan positions on the spot
- Target visibility — Are enough targets visible in each scan for robust registration? If not, targets can be repositioned before the operator moves forward
Dimensional Verification
At key checkpoints throughout the scan, the crew verifies scan accuracy against known dimensions:
- Tape-measured distances between reference points (typically 3-5 checkpoints per floor)
- Door widths and ceiling heights at standardized locations
- Comparison against any available reference dimensions from the client
These field verifications are documented and included in the project deliverables as part of the QA record.
After the Field Work: Processing and Delivery (1-5 Days)
Data Transfer
At the end of each scanning day, the crew transfers the raw scan data from the scanner’s internal storage to external drives. For a 150-scan-position project, the raw data volume is typically 50-100 GB, depending on resolution settings and color capture.
The raw data is backed up to a minimum of two independent storage devices before leaving the site. Scan data is irreplaceable — if a drive fails and there is no backup, the field work must be repeated.
Registration and Processing
Back in the office (or on-site for urgent projects), the scan data goes through a structured processing pipeline:
- Registration — All scan positions are aligned into a single, unified coordinate system. Target-based and cloud-to-cloud registration methods are applied. The registration report documents the alignment accuracy for every scan-to-scan connection
- Cleaning — Artifacts, noise, and unwanted data (people, temporary objects, scanner self-reflections) are removed from the point cloud
- Georeferencing (if required) — The point cloud is aligned to a project coordinate system, survey control network, or geographic coordinates
- Format conversion — The processed point cloud is exported to the client’s required formats (E57, RCP/RCS, LAS, OBJ)
- Quality assurance — Final dimensional checks, visual inspection of coverage, and registration report generation
Processing time scales with project size. For our 50,000 square foot example, expect 2-3 days of processing time from a professional team.
Deliverables
The standard deliverable package for a scanning project includes:
- Registered point cloud in requested formats (typically E57 for universal compatibility, plus RCP/RCS for Autodesk workflows)
- Registration report documenting scan-to-scan alignment accuracy
- Scan position map showing where each scan was taken
- QA report with dimensional verification measurements
- Project photographs documenting site conditions at the time of scanning
Data delivery is typically via secure cloud transfer (the file sizes are too large for email) or on physical media for projects with strict data security requirements.
Timeline Summary: 50,000 sqft Office Building
| Phase | Duration | Notes |
|---|---|---|
| Pre-visit planning | 1-2 weeks before | Site assessment, scheduling, coordination |
| Target placement | 1-2 hours | Distributed across the building before scanning begins |
| Active scanning | 1.5-2 days | ~150 scan positions at 8-15 positions/hour |
| Field QA | Throughout | Continuous during scanning |
| Data processing | 2-3 days | Registration, cleaning, format conversion |
| Delivery | 1 day | Cloud transfer + QA documentation |
| Total project turnaround | 5-10 business days | From first field day to final delivery |
For smaller projects (under 10,000 sqft), the entire process — field scanning, processing, and delivery — can be completed within 2-3 business days.
Frequently Asked Questions
Do building occupants need to vacate during scanning?
No. Laser scanning is non-disruptive and safe. The scanner uses a Class 1 eye-safe laser that poses no health risk. Occupants can continue working normally. The scanning crew accesses each room briefly (5-10 minutes), and people who appear in the scan are filtered out during processing.
What happens if an area was missed during the scan?
This is precisely why field QA checks are performed throughout scanning. Real-time registration on the operator’s tablet shows coverage gaps immediately, allowing supplemental scans to be added before the crew leaves. If a gap is discovered after the field work is complete, a targeted re-visit is scheduled — typically a half-day effort to scan specific missed areas.
Can scanning be done at night or on weekends?
Yes. Laser scanners use their own laser light source and do not depend on ambient lighting. Scanning can be performed in complete darkness, which is useful for occupied buildings where after-hours scanning avoids disruption. Weekend and after-hours scanning is available for projects that require it.
How much space does the scanning equipment take up?
The scanner on its tripod occupies a footprint of approximately 2 feet by 2 feet. The tripod extends to about 5 feet in height. The crew carries one equipment case (approximately the size of a large carry-on suitcase) plus the tripod between scan positions. The equipment easily fits through standard doorways and around typical office furniture.
Ready to schedule a scanning session for your building? Get a quote from THE FUTURE 3D, or learn more about how 3D scanning works for a deeper technical overview of the technology behind the process.
Ready to Start Your Project?
Get a free quote and consultation from our 3D scanning experts.
Get Your Free Quote