Every week, we talk to project managers, architects, and facility owners who have the same set of assumptions about 3D laser scanning. These assumptions are not just wrong — they are expensive. They lead teams to skip scanning when they should have scanned, choose the wrong equipment for the job, or budget based on outdated information.
Here are the five misconceptions we encounter most often, why they persist, and what the reality actually looks like in 2026.
Misconception #1: “3D Scanning Is Too Expensive for Our Project”
This is the most common reason teams skip scanning entirely, and it is the one that costs the most money downstream.
The misconception persists because people compare the cost of scanning against doing nothing — not against the cost of the problems that scanning prevents. When a project manager sees a $5,000 scanning quote and compares it to $0 for “we will just use the existing drawings,” the scanning looks like a pure add-on expense.
The Reality
The true comparison is between scanning cost and the cost of errors that scanning prevents.
Consider a typical 20,000 square foot office renovation. Professional scanning costs approximately $3,000-$6,000 for field capture and point cloud delivery. The existing drawings from the original construction — if they exist at all — are typically 5-15 years old and do not reflect tenant improvements, MEP modifications, or structural changes made since the building was built.
When the design team works from those outdated drawings and discovers during construction that a structural beam is 8 inches lower than shown, or a duct run is 2 feet from where the drawings indicate, the resulting change order costs $5,000-$50,000 depending on how far along the construction is when the conflict is discovered.
A single field conflict avoided pays for the entire scanning investment. On renovation projects, the industry average is 3-5 significant field conflicts per project when working from outdated drawings. Scanning eliminates the vast majority of these before they reach the construction phase.
The real question is not “Can we afford to scan?” It is “Can we afford not to scan?”
For a detailed breakdown of what scanning actually costs for different project types and sizes, see our 3D scanning cost guide.
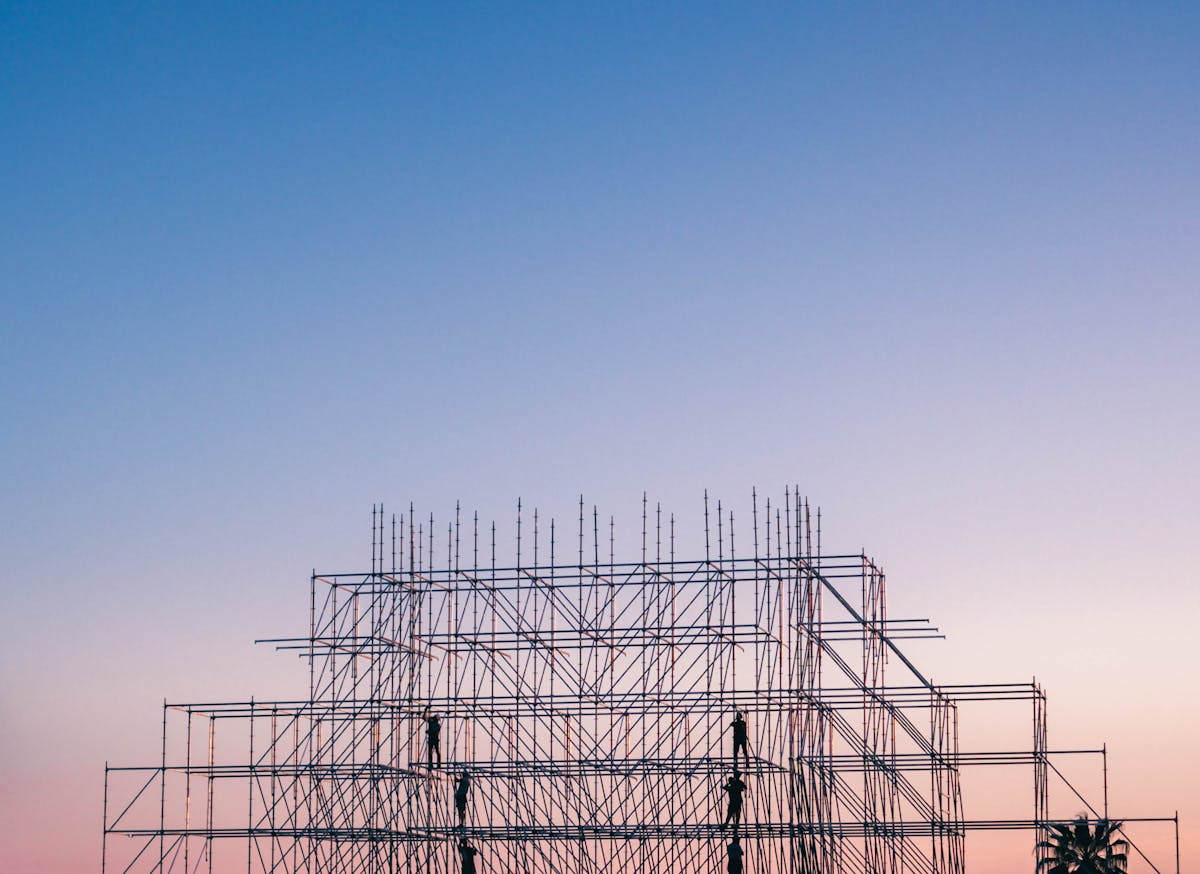
Misconception #2: “Scanning Takes Too Long — We Cannot Wait”
Project schedules are always tight, and any additional step feels like a delay. The assumption is that scanning a building requires weeks of setup, field work, and processing before the data is usable.
The Reality
Modern laser scanners are fast. A professional scanner like the Leica RTC360 captures a full 360-degree scan in under 2 minutes. Each scan position covers roughly 1,500-3,000 square feet of visible area depending on room size and geometry.
Here is what typical scanning timelines actually look like:
| Building Size | Field Time | Processing Time | Total Turnaround |
|---|---|---|---|
| 5,000 sqft (small office) | 3-4 hours | 1 day | 2 days |
| 20,000 sqft (office floor) | 1 day | 1-2 days | 3-4 days |
| 50,000 sqft (commercial) | 2-3 days | 2-3 days | 5-7 days |
| 100,000 sqft (large facility) | 3-5 days | 3-5 days | 1-2 weeks |
For urgent projects, same-day or next-day delivery of raw scan data is possible. The processing phase — registration, cleaning, format conversion — can be compressed by running tasks in parallel.
Compare this to manual measurement. A surveyor measuring the same 20,000 square foot floor takes 2-3 days in the field, captures perhaps 200 discrete measurements, and still misses the ceiling structure, hidden MEP runs, and irregular geometry that a scanner captures automatically. The scanning team captures millions of measurements in the same time frame, and the data is complete — every visible surface is documented.
Scanning is not an additional timeline step. It replaces the manual measurement step with a faster, more complete process.
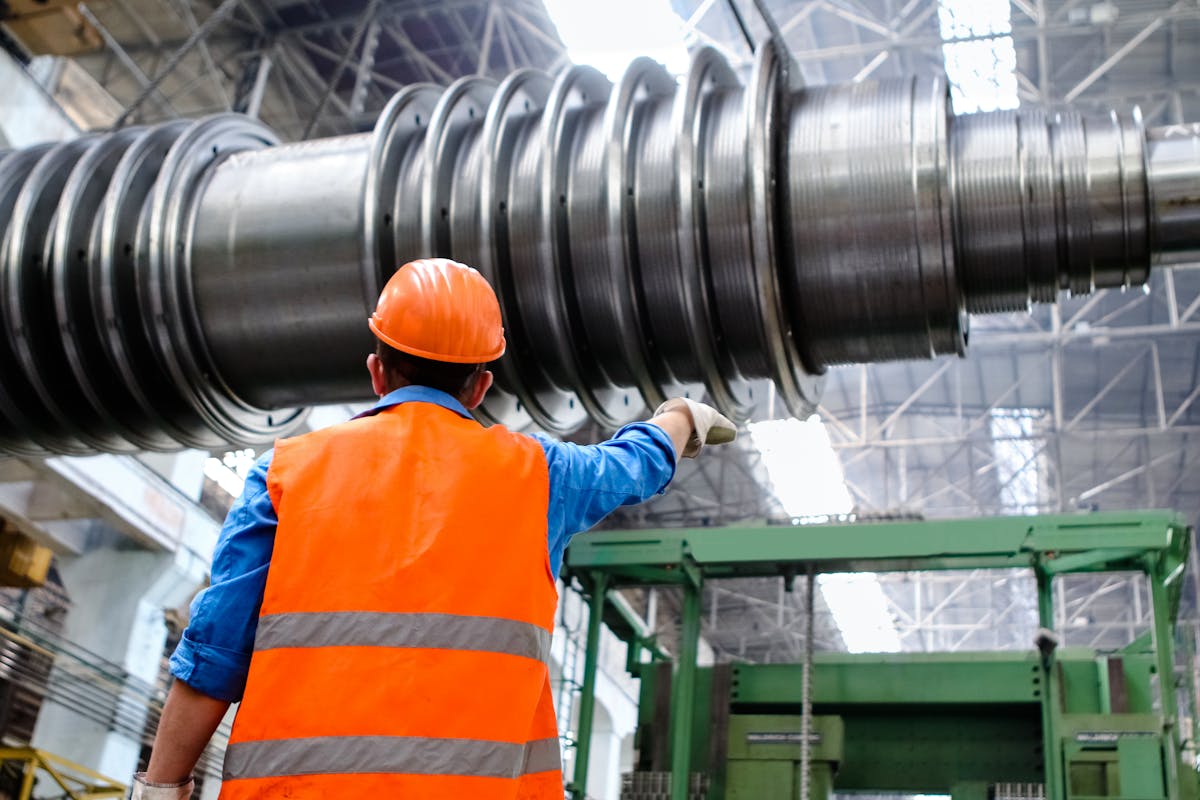
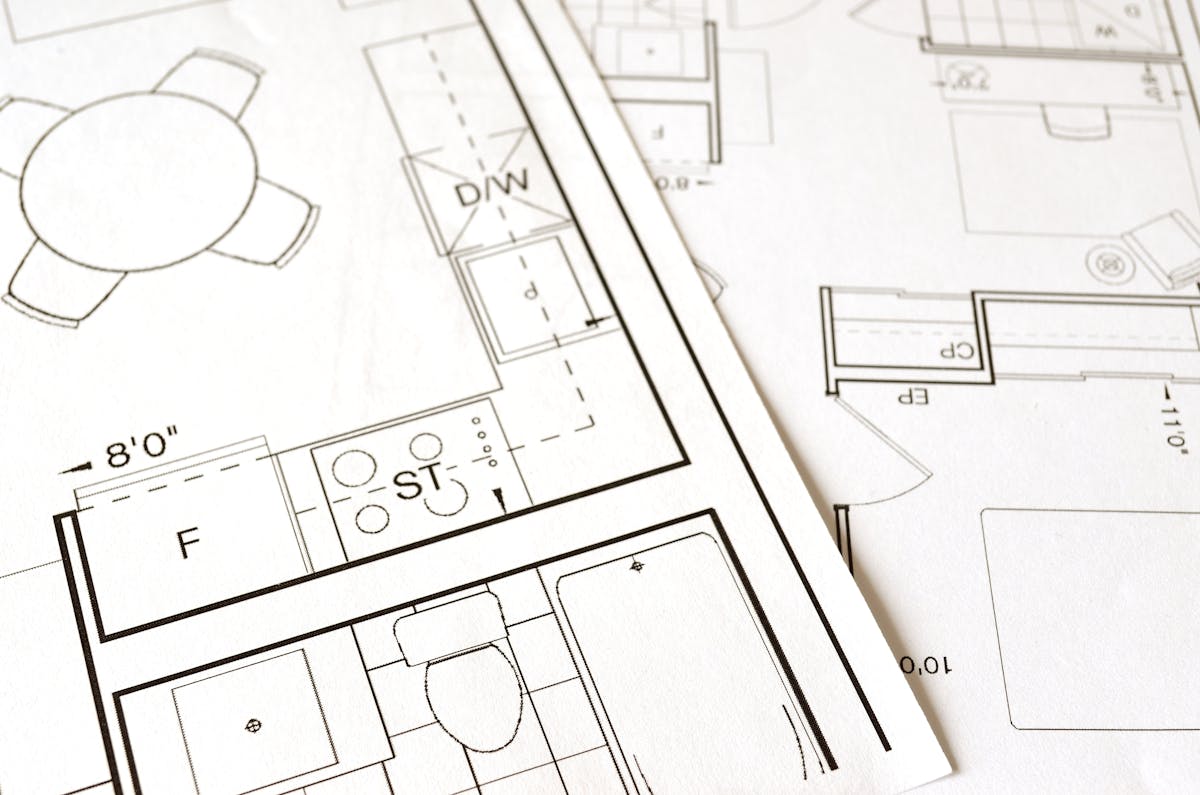
Misconception #3: “We Already Have Drawings — We Do Not Need a Scan”
This misconception is particularly dangerous because it sounds reasonable. If the building was documented when it was built, those drawings should still be accurate. Right?
The Reality
Buildings change. Constantly.
Every tenant improvement, every HVAC repair, every electrical panel upgrade, every plumbing modification, and every structural reinforcement changes the building from what was originally drawn. And the vast majority of these changes are never reflected in updated drawings.
Industry research consistently shows that existing drawings are inaccurate for renovation purposes:
- Dimensional errors — Original construction rarely matches design drawings exactly. Steel connections, concrete pours, and field adjustments create deviations of inches or even feet from what was drawn
- Undocumented modifications — Tenant improvements, equipment installations, and maintenance work are rarely captured in updated as-built drawings. A 20-year-old building may have had dozens of modifications that only exist in the physical space
- Missing systems — Original architectural drawings often do not show MEP systems in accurate detail. MEP coordination drawings, if they ever existed, are frequently lost or superseded by field changes
- Structural settling — Buildings settle unevenly over time, changing floor elevations, wall plumbness, and ceiling heights from what was originally constructed
We regularly see discrepancies of 2-6 inches between existing drawings and actual conditions in buildings under 20 years old. In older buildings, discrepancies of 12 inches or more are not uncommon, especially in ceiling and MEP spaces.
A laser scan captures the building as it actually exists today — every wall, pipe, duct, beam, and surface in its true position. This truth data is what your design team needs to avoid costly surprises during construction.
Our guide on as-built documentation explains in detail why capturing current conditions is essential for renovation projects.
Misconception #4: “We Only Need Specific Measurements, Not a Full Scan”
Project teams sometimes believe they only need a few critical dimensions — the width of a corridor, the height of a ceiling, the clearance above a pipe. They assume that targeted manual measurements are more efficient than scanning the entire space.
The Reality
This reasoning breaks down for three reasons.
First, you do not know which measurements you will need later. At the start of a project, the design team identifies the dimensions they think they need. But as design progresses, new questions arise. Can this duct fit through that soffit? Is there clearance above the structural beam for a new cable tray? How wide is the chase behind the elevator shaft? If you only measured what you thought you needed, every new question requires a trip back to the building.
A laser scan captures everything in the field of view — every surface, every edge, every pipe, every conduit. When a new question arises three months into design, the answer is already in the scan data. No field trip required.
Second, context matters more than individual measurements. A single dimension — say, a 12-foot ceiling height — means nothing without knowing what is above that ceiling, what runs through the plenum space, and where the structural members are relative to the planned work. A scan provides spatial context that individual measurements cannot.
Third, the marginal cost of a complete scan versus a partial one is minimal. Once the scanner and crew are on site, the incremental cost of scanning additional rooms or areas is small — a few extra minutes per scan position. The expensive part is mobilization, not individual scans. Capturing the whole space costs perhaps 10-20% more than capturing only the “critical” areas, but it provides 100% of the information instead of a fraction.
The scan data is future-proofed. You scan once and have a permanent, complete record of the building that serves not just this project but every future project in that space.
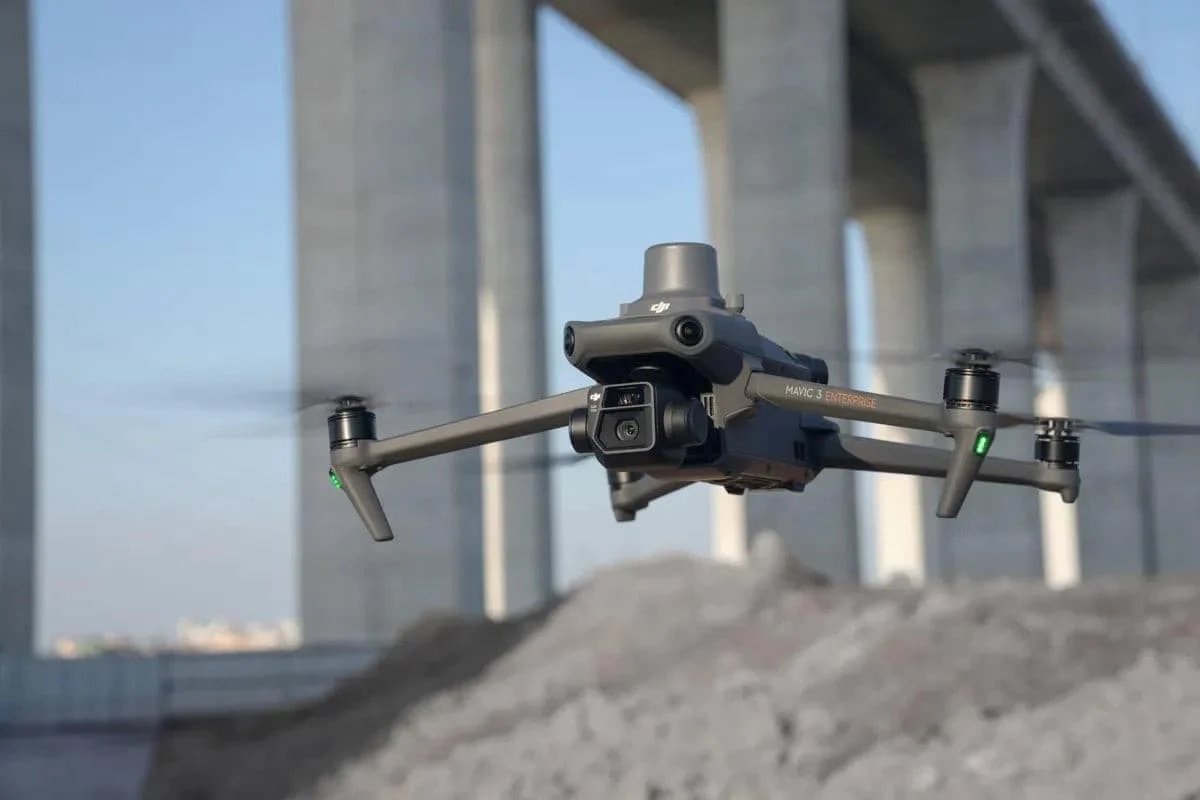
Misconception #5: “Any Scanner Will Do — They Are All Basically the Same”
This is the misconception that leads to the most disappointing results. A building owner finds a low-cost provider using consumer-grade equipment, assumes all scanners produce similar data, and ends up with a point cloud that cannot support the project requirements.
The Reality
The difference between professional and consumer-grade scanning equipment is enormous:
| Specification | Consumer/Prosumer Scanner | Professional Scanner |
|---|---|---|
| Range Accuracy | 5-20mm | 1-2mm |
| Maximum Range | 10-30m | 80-400m |
| Point Rate | 10,000-300,000 pts/sec | 500,000-2,200,000 pts/sec |
| Registration | Basic cloud-to-cloud | VIS, target-based, or advanced SLAM |
| Environmental Rating | Indoor only, fragile | IP54+, -20 to 50°C |
| Calibration | Factory only, no traceability | ISO-traceable annual calibration |
| Color/Imaging | Low-res camera | 266-432 MP HDR panoramic |
A Matterport camera capturing a residential virtual tour is excellent for real estate marketing but lacks the measurement accuracy required for construction documentation. A Leica RTC360 or Trimble X12 delivering 1-2mm accuracy is designed specifically for AEC projects where dimensions must be correct, not approximate.
The equipment matters, but the operator matters just as much. A professional scanning team knows how to:
- Plan scan positions for optimal coverage and registration quality
- Handle challenging environments (reflective surfaces, dark areas, active construction sites)
- Execute field QA checks to catch problems before leaving the site
- Process and deliver data in the formats your downstream team needs
- Document accuracy and provide QA reports that support your project requirements
Choosing a scanning provider should be based on their equipment, their team’s experience, and their QA processes — not just on the lowest price.
The Bottom Line
These five misconceptions share a common thread: they all lead to decisions that save money in the short term but cost more in the long run. Skipping the scan saves the scanning fee but creates field conflicts. Using outdated drawings avoids the scan cost but introduces design errors. Measuring only what you think you need saves time today but creates delays when new questions arise.
The teams that consistently deliver projects on time and on budget are the ones that invest in accurate existing conditions data at the start. 3D laser scanning is not a luxury or an add-on — it is the foundation that everything else builds upon.
Frequently Asked Questions
How do I convince my client or project owner that scanning is worth the cost?
Frame the scanning cost against the risk of not scanning. Calculate the potential cost of 3-5 field conflicts on the project (change orders, delays, rework) and compare that to the scanning quote. For most renovation projects over 5,000 square feet, the risk-adjusted savings from scanning far exceed the scanning investment.
What if our project is straightforward and the building is relatively new?
Even relatively new buildings (5-10 years old) typically have undocumented modifications from tenant improvements, maintenance work, and equipment installations. The younger the building, the fewer discrepancies — but they still exist. If your project involves any MEP work, ceiling modifications, or structural connections, scanning provides value regardless of building age.
How do I choose between a terrestrial scanner and a mobile mapper?
Terrestrial scanners (like the Leica RTC360 or Trimble X12) deliver 1-2mm accuracy and are the standard for AEC documentation. Mobile mappers (like the NavVis VLX 3) sacrifice some accuracy (5mm) for dramatically faster capture speed. For detailed renovation design and construction documentation, use a terrestrial scanner. For large-scale facility documentation, space planning, or digital twin creation where 5mm accuracy is sufficient, a mobile mapper is more cost-effective.
Ready to get accurate, complete building data for your next project? Get a quote from THE FUTURE 3D or learn more about how 3D scanning works to understand what to expect from the process.
Ready to Start Your Project?
Get a free quote and consultation from our 3D scanning experts.
Get Your Free Quote