Architecture firms spend a significant portion of their design hours working with existing buildings. Renovations, adaptive reuse, additions, code compliance — all of these projects start with the same fundamental challenge: understanding what already exists before you can design what comes next.
For decades, that meant sending someone with a tape measure and a clipboard to spend days manually measuring and sketching floor plans. The results were slow, incomplete, and frequently inaccurate enough to cause problems during construction. 3D scanning has replaced that process for firms that cannot afford the downstream costs of bad existing-condition data.
This guide covers how 3D scanning works for architectural projects, the specific use cases where it delivers the most value, what it costs, and how to evaluate the return on investment. For a broader overview of the technology, see our guide on how 3D scanning works.
Why Architects Need 3D Scanning
The core problem 3D scanning solves for architecture firms is measurement accuracy. Manual field measurements of existing buildings introduce errors of 6-12 millimeters on average — and often much more in complex or difficult-to-access areas. Those errors propagate through the design process and show up as costly conflicts during construction.
A 3D laser scanner captures every visible surface with 1-4mm accuracy, producing a comprehensive point cloud that represents the building as it actually exists today. No missed dimensions. No estimated ceiling heights. No “we’ll figure out that corner when we get there.”
Research from Autodesk and Dodge Data & Analytics shows that architecture and construction firms using 3D scanning for existing-condition documentation report 15-25% lower overall project costs on renovation work, driven primarily by reduced rework, fewer RFIs, and fewer change orders. The scanning investment typically pays for itself before design development is complete.
Beyond accuracy, 3D scanning provides completeness. A point cloud captures everything within the scanner’s line of sight — structural members, MEP runs, wall irregularities, floor slopes, ceiling conditions — much of which would never be measured during a manual survey because no one thought to check it. That comprehensive baseline eliminates the “surprises” that derail renovation schedules and budgets.
Key Use Cases for Architectural 3D Scanning
Renovation and Adaptive Reuse Design
Renovation projects require precise existing-condition data as the foundation for all new design work. A 3D scan captures the building’s current geometry — including all the modifications, settling, and undocumented changes since original construction — and delivers that data in formats that integrate directly into your design software.
The point cloud serves as an underlay in Revit, ArchiCAD, or AutoCAD, giving designers a measured reference for every wall, opening, structural element, and ceiling height. Instead of discovering during construction that a wall is 3 inches off from where the drawings showed it, the design accounts for actual conditions from day one.
For adaptive reuse projects — converting warehouses to offices, factories to residential, churches to event spaces — 3D scanning is particularly valuable because original drawings rarely exist or reflect current conditions.
Historic Preservation and Documentation
Heritage structures present unique documentation challenges. Building geometries are often irregular and hand-crafted, original drawings are rarely available, and physical contact with fragile surfaces must be minimized. 3D laser scanning captures every surface detail — from ornamental plaster moldings to hand-hewn timber framing — without any physical interaction.
The resulting point cloud serves as both a permanent digital archive of the structure’s condition and a precise working reference for restoration design. Many preservation standards and grant applications now require or strongly favor laser scan documentation as proof of existing conditions.
As-Built Verification and Documentation
For buildings where drawings exist but their accuracy is uncertain, a 3D scan provides ground truth. The point cloud can be compared against available drawings to identify where the building deviates from its documentation — which is nearly always.
This verification is critical before designing additions, mechanical upgrades, or structural modifications. Our guide on as-built drawings explains the broader context of as-built documentation for design projects.
Code Compliance and ADA Assessment

Zoning reviews, fire egress analysis, and ADA compliance assessments all require accurate dimensional data. A point cloud provides measured widths of corridors, doorways, and stairwells; precise ceiling heights for sprinkler clearance calculations; and slope measurements for ramp compliance — all from a single scan session rather than multiple manual measurement trips.
For building departments and code consultants reviewing renovation proposals, point cloud-derived floor plans and sections carry significantly more credibility than manually measured drawings.
Space Planning and Facility Assessment
Real estate developers, facility managers, and portfolio managers use 3D scans to document existing buildings for space planning, lease negotiations, and capital improvement planning. A single scan session produces floor plans, ceiling height data, column grid verification, and a complete 3D record that can be revisited indefinitely without returning to the site.
The Scanning Workflow for Architectural Projects
Step 1: Project Scoping
The scanning team reviews project requirements with the architect: What areas need to be captured? What level of detail is needed? What file formats does the design team use? Are there access restrictions (occupied spaces, hazardous areas, security requirements)?
Step 2: Field Scanning
A crew brings terrestrial laser scanners to the site and captures the building from multiple positions. For a typical commercial renovation project, this means setting up the scanner at locations approximately every 15-25 feet throughout the building. Each scan position takes 2-5 minutes and captures a 360-degree point cloud of its surroundings.
A 50,000 square foot office building might require 2-3 days of on-site scanning. A single-family home typically takes half a day. Large industrial or campus projects can take 5+ days.
Step 3: Processing and Registration
The individual scan positions are aligned into a single unified point cloud using a combination of survey targets and automatic registration algorithms. The registered point cloud is then cleaned to remove noise and unwanted objects (people, furniture that was moved during scanning, temporary equipment).
Step 4: Delivery
The processed point cloud is delivered in the formats the design team needs — typically E57 for universal compatibility, RCP/RCS for Autodesk workflows, and LAS for surveying applications. Delivery of production-ready point cloud data typically takes 1-2 business days after field scanning is complete.
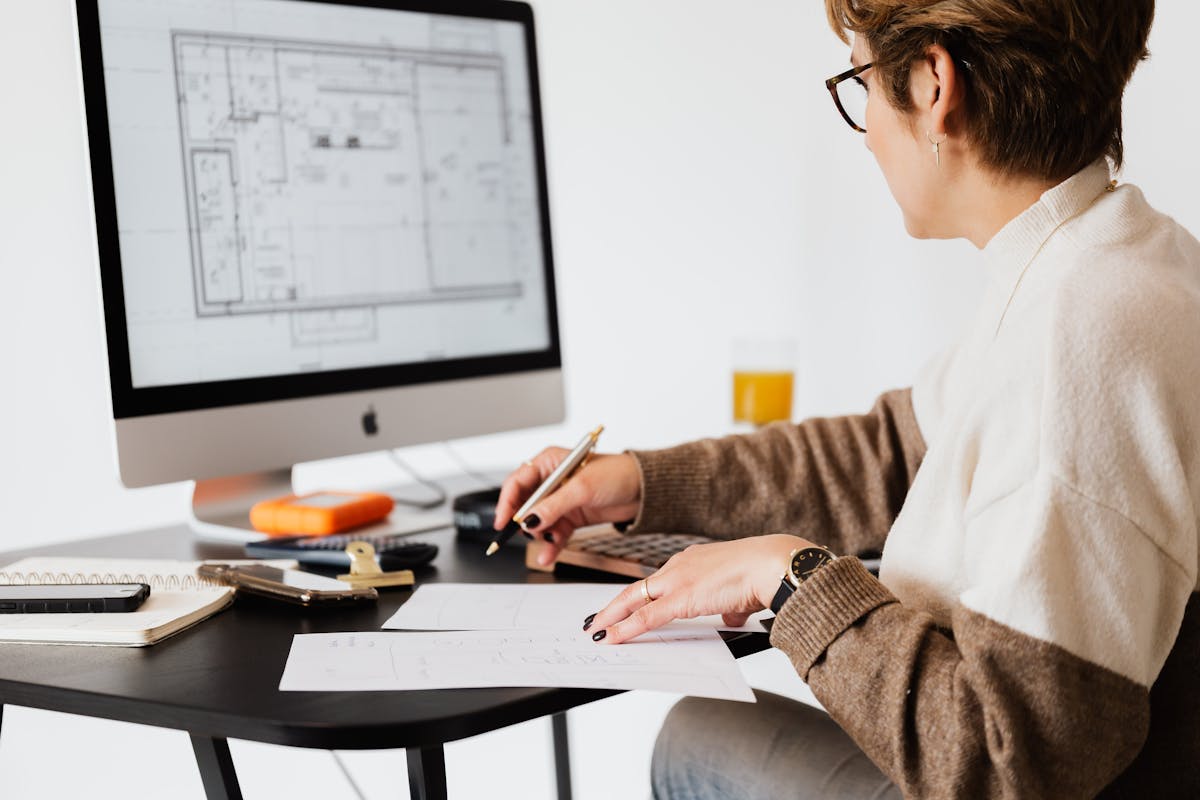
The architect’s team imports the point cloud into their design software as a reference underlay and begins design development with measured reality as the baseline.
What Architects Receive as Deliverables
THE FUTURE 3D specializes in the scanning and data capture side of architectural documentation. We deliver production-ready point cloud data — the measured 3D foundation that your design team or BIM modeling firm builds upon.
Standard Deliverables
- Registered point cloud — E57, RCP/RCS, or LAS format, cleaned and noise-free
- Color point cloud — Photorealistic point cloud with RGB color data from integrated cameras
- OBJ 3D mesh — Textured mesh model generated from point cloud data
- Accuracy report — Documentation of registration accuracy and any known coverage gaps
Optional Add-Ons
- Schematic floor plans — 2D floor plans extracted from point cloud data
- Sectional views — Point cloud cross-sections at specified locations
The point cloud data is structured for direct import into Revit, AutoCAD, ArchiCAD, Rhino, SketchUp, and other design platforms. If your project requires full BIM modeling (Revit families, intelligent objects, LOD 200-400), that work is typically performed by your in-house team or a specialized BIM services firm using our scan data as the foundation.
Cost and ROI Analysis
Scanning Costs for Architectural Projects
| Project Type | Typical Size | Scanning Cost Range |
|---|---|---|
| Single-family home | 1,500 - 5,000 sqft | $2,000 - $6,000 |
| Commercial office floor | 10,000 - 50,000 sqft | $3,000 - $15,000 |
| Multi-story commercial | 50,000 - 200,000 sqft | $10,000 - $40,000 |
| Industrial / warehouse | 100,000+ sqft | $15,000 - $100,000+ |
Per square foot rates for commercial 3D laser scanning typically range from $0.20 to $0.70/sqft depending on project complexity and volume. Pricing varies by location based on local market conditions and project logistics. See our 3D scanning cost guide for detailed breakdowns.
ROI Framework
The return on investment for architectural 3D scanning comes from avoided costs downstream in the project:

Reduced rework during construction — Industry data shows renovation projects using scan data experience 20-40% fewer change orders compared to those relying on manual measurements. On a $5 million renovation, avoiding even 5% in change orders saves $250,000.
Faster design development — Architects report saving 2-4 weeks of design time on renovation projects when starting with accurate point cloud data instead of manual measurements that require multiple verification trips.
Fewer RFIs during construction — Accurate existing-condition data means fewer “request for information” exchanges between architect and contractor. Each avoided RFI saves $500-$2,000 in administrative time and potential schedule delays.
Eliminated re-measurement trips — A single scan session captures everything. Without scanning, design teams often need 3-5 return visits to re-measure areas they missed or mis-measured initially. Each trip costs $500-$2,000 in staff time and travel.
For a typical $3-5 million commercial renovation, the scanning cost of $5,000-$15,000 typically represents less than 0.5% of the total project budget — while the downstream savings from better data can reach 10-20% of design and construction costs.
What a Typical Architectural Scanning Project Looks Like
Rather than citing specific project names, here is what a typical architectural scanning engagement involves based on the types of projects we are equipped to handle:
Scenario: 80,000 sqft historic office building, planned renovation and adaptive reuse
- Scanning approach: Terrestrial LiDAR (Trimble X12) for interior spaces and structural elements; supplemental drone photogrammetry for roof condition and exterior facades
- Field time: 3-4 days on site, coordinated around building occupancy schedules
- Scan positions: 250-350 positions covering all floors, mechanical spaces, and exterior
- Deliverables: Registered E57 and RCP point clouds, color-mapped for visual reference, delivered within 2 business days of field completion
- Design team use: Point cloud imported into Revit as underlay for renovation design development. BIM modeling performed by client’s team or their selected BIM services provider
This type of project is well within our capabilities and equipment portfolio. The resulting scan data gives the design team a measured baseline that eliminates the guesswork from renovation design.
Frequently Asked Questions
How accurate is 3D scanning for architectural projects?
Terrestrial laser scanners used for architectural projects achieve accuracy of 1-4 millimeters at typical indoor scanning distances. This significantly exceeds the accuracy of manual tape measurements (6-12mm average error) and is more than sufficient for all standard architectural design and documentation purposes.
Can 3D scanning capture MEP systems above ceilings?
Yes, provided the ceiling tiles or panels are removed to expose the systems. Laser scanners capture everything within their line of sight, so if ductwork, piping, and conduit are exposed, they will be documented in the point cloud. For renovation projects involving MEP coordination, above-ceiling scanning is standard practice.
What software can open the point cloud files?
Point clouds in E57 format can be opened in virtually all professional design and scanning software — including Autodesk Revit, AutoCAD, ReCap, ArchiCAD, Rhino, Trimble RealWorks, CloudCompare (free), and many others. RCP/RCS files are optimized specifically for Autodesk products.
How does 3D scanning compare to using the original building drawings?
Original drawings reflect what was designed, not what was built. Buildings change over time through tenant improvements, undocumented modifications, structural settling, and construction tolerances. A 3D scan captures the building as it exists today. On most projects older than 10 years, architects find significant discrepancies between original drawings and actual conditions. Our as-built documentation guide covers this topic in depth.
Do I need to clear the building before scanning?
Not necessarily. Scanners can work around furniture and occupants, though the resulting point cloud will include those objects. For the most useful results, clearing movable furniture from key areas and removing ceiling tiles in MEP-critical zones produces better data. The scanning team coordinates access logistics during the scoping phase.
Ready to get accurate existing-condition data for your next architectural project? Get a quote from THE FUTURE 3D or explore our 3D laser scanning services and as-built documentation capabilities. For related guides, see our articles on 3D scanning for construction and what as-built documentation is and why every building needs it.
Ready to Start Your Project?
Get a free quote and consultation from our 3D scanning experts.
Get Your Free Quote